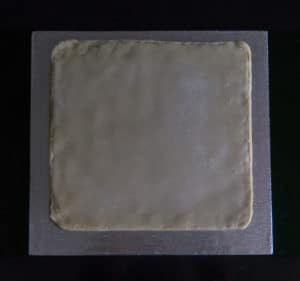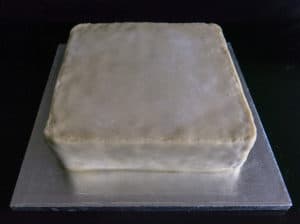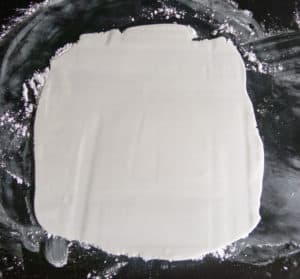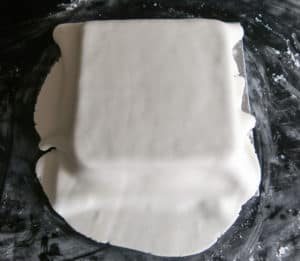
It’s time to take your Gluten Free Vegan Christmas Cake – Decorate it! Decorating with marzipan and icing really enhances the look and taste of any celebration cake. Decorating a Christmas Cake (celebration cake or wedding cake) is not that hard. REALLY. Once you have made your Gluten Free, Vegan Christmas Cake that is the hard work over. Now the fun can begin.
Allergy Information – Gluten Free Vegan Christmas Cake – Decorate it!
Gluten Free, Vegan Christmas Cake – Decorate it! is (surprise, surprise!) gluten-free and vegan and… celery free, coconut free, garlic free, lupin free, mustard free, nightshade free, onion free, peanut free, sesame free, soya free.
Top Tips – Gluten Free Vegan Christmas Cake – Decorate it!
The basics are the same for any celebration cake: make the cake, cover with apricot jam, layer of marzipan, layer of icing, decorate.
Start with simple decorations and before you know it you can move on to fancy stuff.
There are a plethora of tools and instruments to make more complicated decorating work easy. Start with something simple and you will be amazed at how good simple looks.
The only tool I used on this cake was a clean metal ruler to make the clean cuts and shapes in the icing.
This recipe will cover one 22 cm square cake or 24 cm round cake. Scale the ingredients up or down depending on the size of your cake.
Note: the top of the decorated cake is the bottom of the baked cake. The bottom of the baked cake is flat and neat and is much better as the top of the decorated cake.
Recipe – Gluten Free Vegan Christmas Cake – Decorate it!
Difficulty easy to medium
Serves lots – depends on the size of the slices
Preparation time 2 hours (excluding time leave marzipan to dry out for a day or two)
Cooking time 0 mins
Ingredients – Gluten Free Vegan Christmas Cake – Decorate it!
1 kilogram gluten free, vegan marzipan (shop bought or make your own)
3-4 tablespoons apricot jam (depending upon your cake shape)
Hot water
1 kilogram gluten free, vegan ready to roll icing
For dusting and rolling gluten free, vegan icing sugar
You will also need a cake board ~6 cm wider than the cake.
Method – Gluten Free Vegan Christmas Cake – Decorate it! – Marzipan
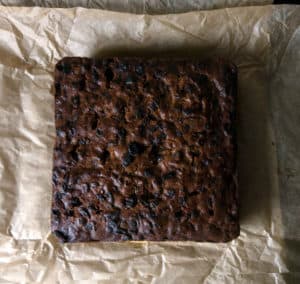
1. No cake is perfect – do not worry if your cake is slightly sunk in the middle. But if you like you can trim off a small amount from the top to make it flat. The top of the baked cake will be the bottom of the iced cake (the bottom of the cake is flat and has neat edges)
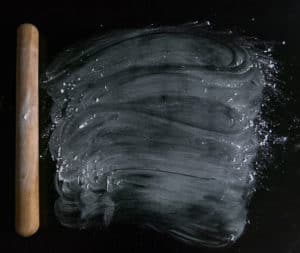
2. Take approximately half of the marzipan for the sides of the cake. Dust a clean, dry, work surface and rolling pin with icing sugar to stop sticking and knead the marzipan until smooth
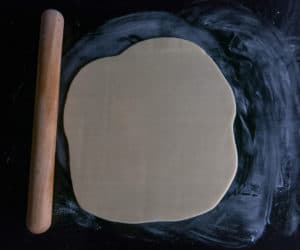
3. Roll out to just under 0.5 centimetre thick, long enough and wide enough to fit around the cake and a bit deeper than the depth of the cake. Dust with icing sugar and carefully roll up like a bandage. Trim one long side level (this side will run along the base)
4. Take the remaining half of the marzipan (and any off-cuts from the side of the cake) for the top of the cake and knead together. Roughly shape the block of marzipan into the shape of your cake. e.g. round or square. Dust the work surface and rolling pin with icing sugar. Roll out until slightly larger than the diameter of the cake and just under 0.5 centimetre thick
5. Place the cake in the centre of the cake board – with the neat bottom of the baked cake as the top. This is now the top of the cake. Mix approximately three tablespoons apricot jam with one tablespoon hot water. Using a pastry brush spread a thin layer of jam on the sides and top of the cake
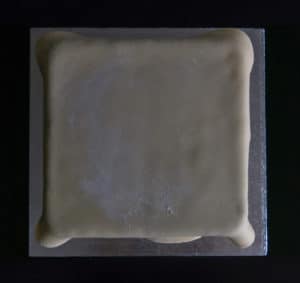
6. Take the roll of marzipan for the sides. With the cut edge on the board unroll gently around the cake pressing the marzipan to the jam coated sides of the cake. Where the marzipan meets itself cut with a sharp knife and gently press the join together. Smooth the sides of the cake with the palms of your hand to make sure there are no air bubbles and the marzipan is adhered to the cake
7. Using a sharp knife trim the top edge of the marzipan so it is level the surface of the cake
8. Now take the rolled marzipan for the top of the cake and gently roll over a rolling pan dusted with marzipan. Gently lay on top the cake. Trim the edges of the top of the cake level with the marzipanned sides of the cake and press to ensure a seal with the sides of the cake
9. Give the top and sides a final smooth with the palms of your hands to ensure the joins are sealed and neat
10. Leave the marzipanned cake, lightly covered, to dry in a cool, dry room. It will need approximately one to two days to dry.
Method – Gluten Free Vegan Christmas Cake – Decorate it! – Icing
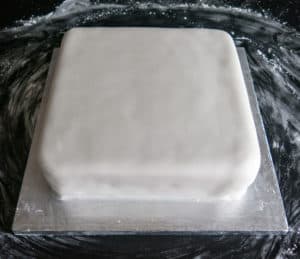
1. Knead the icing into a smooth (round or square) shape on a work surface, dusted with icing sugar
2. Roll out the icing large enough to cover the top and sides of the cake. e.g. 20 cm round cake 5 cm deep needs icing rolled out to 31 cm diameter
3. Brush the marzipaned cake with a little sherry or cold boiled water
4. Roll the icing over a rolling-pin dusted with icing sugar and lift the icing over the centre of the cake
5. Lay the icing loosely over the cake being careful to make sure it is in the middle- do not press against the sides
6. Smooth the top using your hands. Work from the middle outwards to get rid of any bubbles trapped under the surface
7. Carefully smooth the icing to the sides of the cake – be gentle avoiding folds or creases
8. Using a sharp knife trim any excess icing at the bottom edge level with the cake board
9. Leave overnight if possible to ‘firm-up’ before decorating. If you need to decorate immediately handle with care to avoid marking the still soft surface
10. Wrap left over icing you want to use for decoration in cling film and a thick plastic bag to prevent it drying out until required
11. As before leave cake to dry in a cool, dry place. Use a cake box to store.
Method – Gluten Free Vegan Christmas Cake – Decorate it!
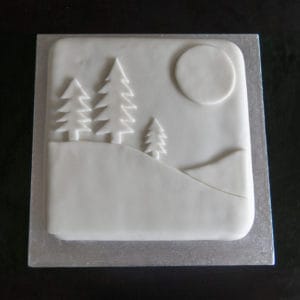
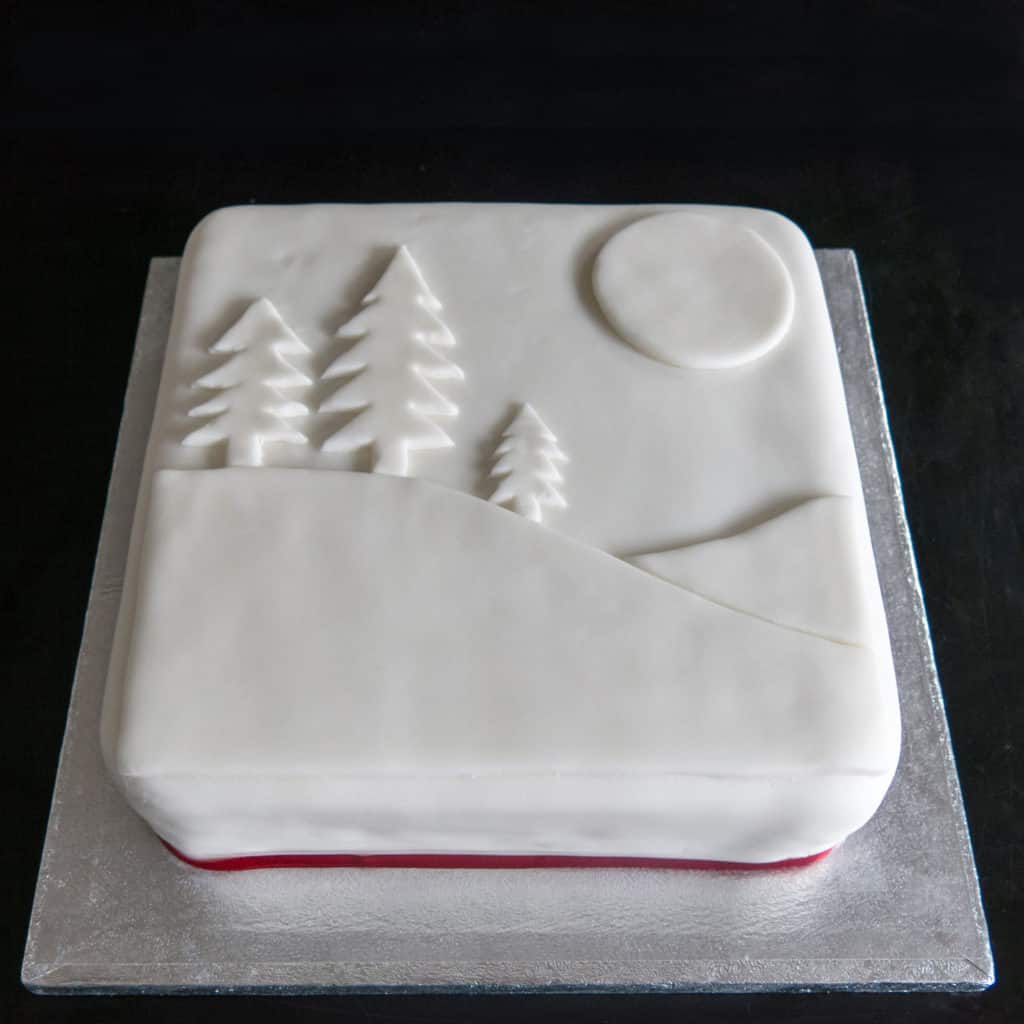
Now you have done the hard work there are thousands of ways to decorate a cake. Keeping it simple you can use left over icing to make simple shapes or go retro and use silver balls. You can colour the icing and make three-dimensional characters. The choice is yours and there are lots of instructional sites if you choose to go creative.
I kept it simple and cut out icing shapes to create a Christmas scene and put some red ribbon around the base of the cake.
